
Laser Communication Device (Arduino Project)
how to make a simple device that transmits text via laser diodes and photo resistors. The attached video describes the process in detail. This is the written version of that.
What you need is: 2x Arduinos, 5x 5 volt 6 mm diameter laser diodes, 5 photo resistors, 5x 1/4 inch diameter 6 inch long acrylic tubing, material for housings (I used two 1x1x6in wax blocks), and computers with supporting software. To build the housing I used two rectangular blocks of wax, which makes for easy drilling. The material, spacing and sizes are arbitrary. Attached is a PDF of my set up. Note that this is the original design, when I used entire laser pointers instead of laser diodes. The extra 7/16 inch holes drilled in the left block can be ignored if using laser diodes. The acrylic rods are 6 inches long. If you are using wax like myself, after you drill the 1/4 inch holes you will find that the 1/4 inch diameter rods will have difficulty fitting. To fix this cut an end off an acrylic rod at an angle and make marks for desired depth (roughly 1/2 inch). Then insert with a twist to shave in inside walls of the hole to accommodate the acrylic rods. The tool is shown in the picture above. After doing so the rod should have a snug fit at the end of the shaved length. Next one block will need to have the laser diodes hot glued in. Make sure that they are pointed in the correct direction, directly out of the holes within the wax block. I did this by pushing an acrylic rod into the hole so that the diode can sit flat on top while the gluing took place. This last step will then be repeated on the other housing block except using the photo resistors.
|


|
|
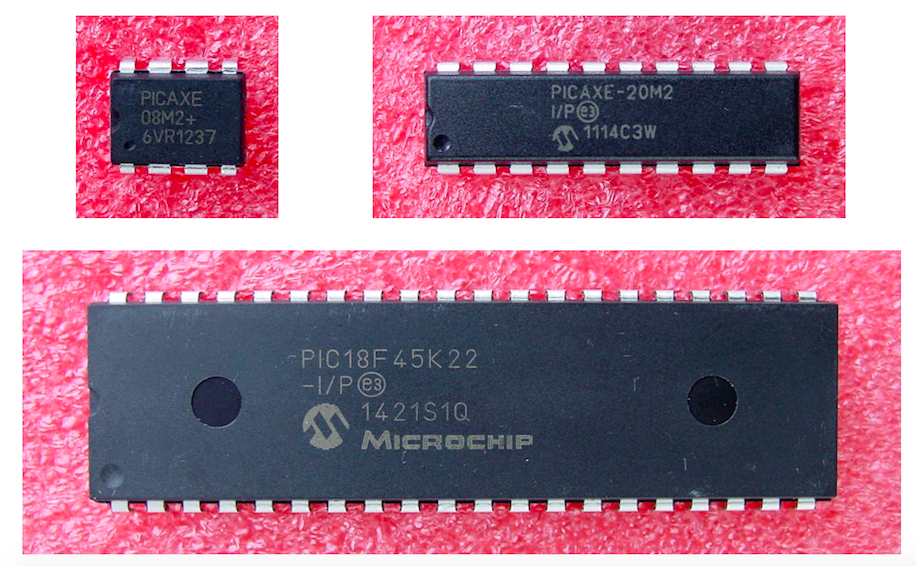
The CodeThe code is shown below, and is well commented. If you are unclear about any part of the program, especially the servo and servopos commands, refer to the PICAXE Basic Manual. The PICAXE programming articles on All About Circuits that begin with this one are also good resources. In addition, the PICAXE forum has very knowledgeable and helpful members who are willing and able to assist in solving problems.

If an one need full code ,contact me .
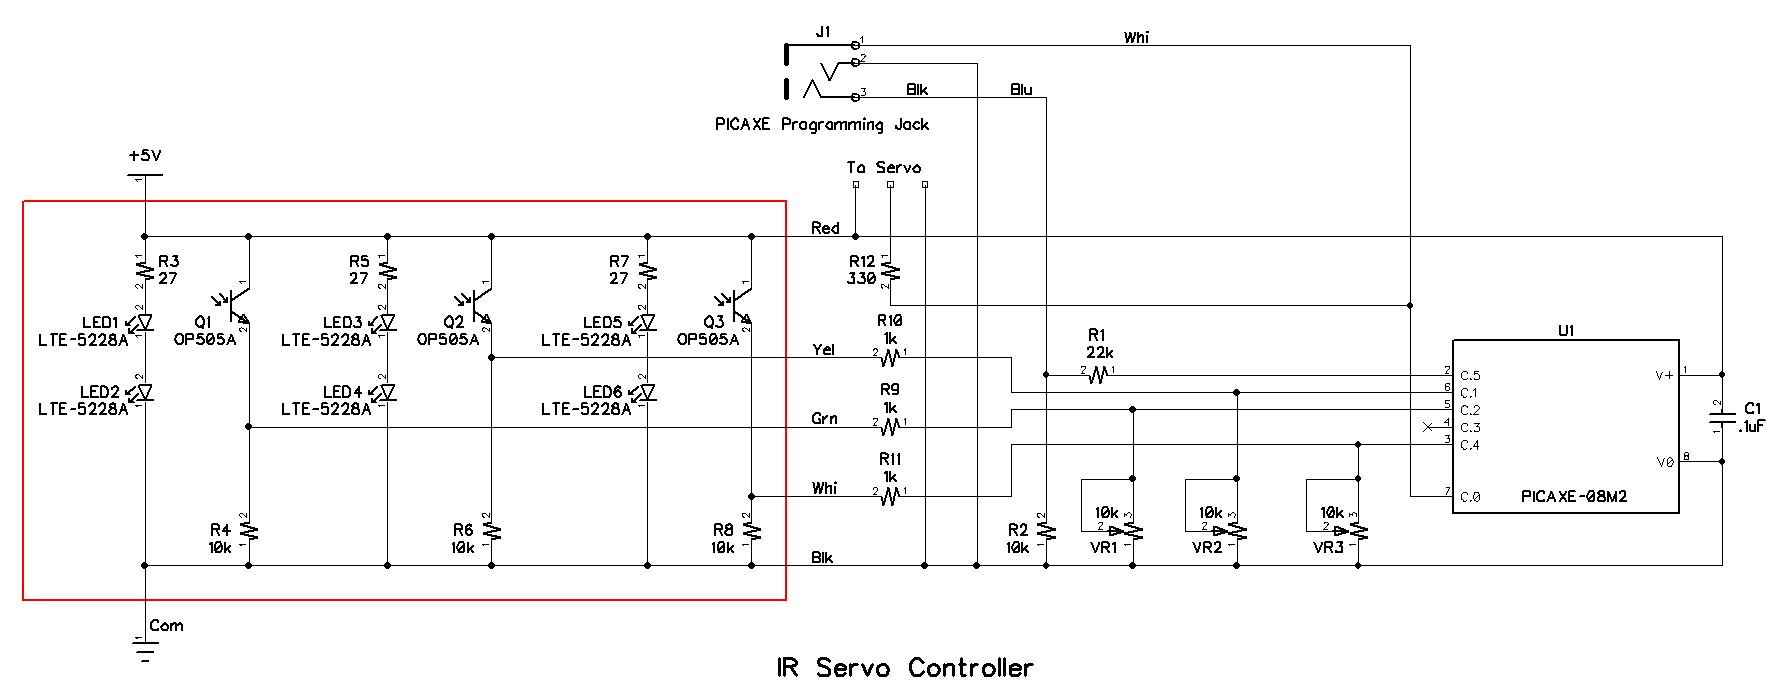
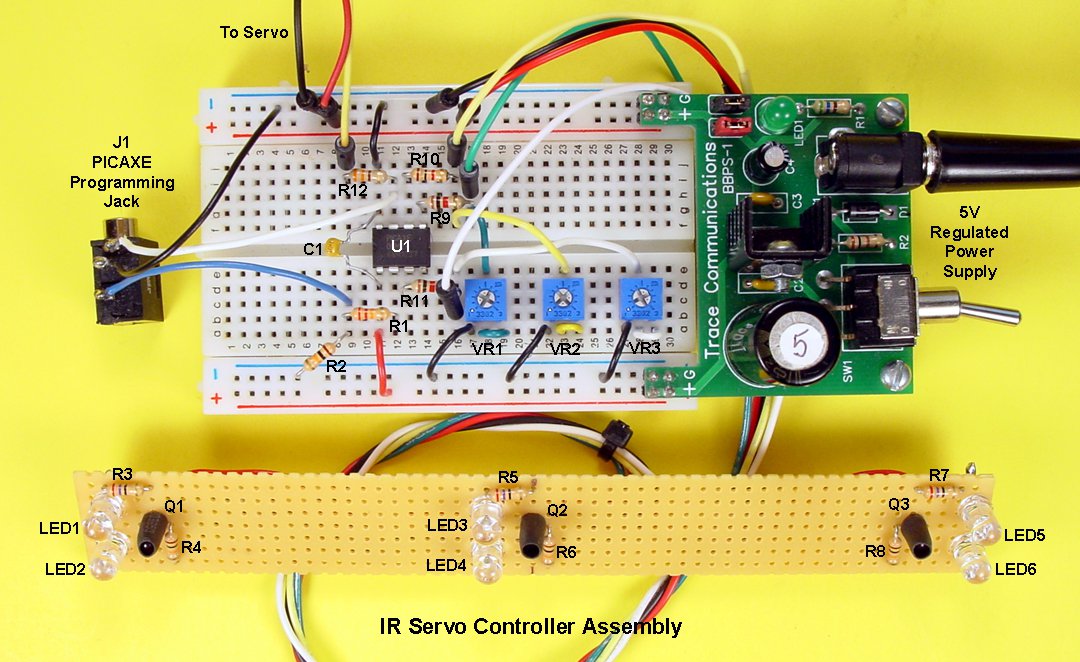
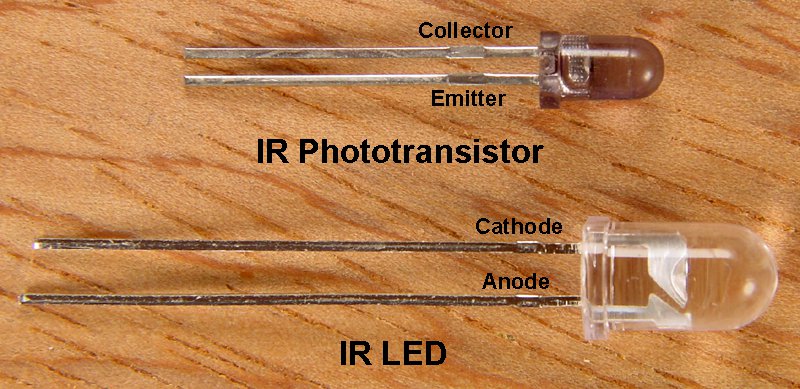
The OperationAs you may have already discerned from the schematic and the code, the operation of the project is rather simple. IR light is continuously radiated from all six LEDs, and some of that light is received by each of the three IR phototransistors. Because of the heat shrink tubing covering the sides of the phototransistors, most of the IR light must enter through the rounded end of each phototransistor by being reflected from some surface above the LEDs and phototransistors. That surface can be your hand or your face or something else such as a piece of paper, and the phototransistor that is directly under the reflective surface will receive the most reflected IR light.
If a relatively small object (such as your fingertip) is moved back and forth above the perfboard assembly, the amount of reflected light that falls on each phototransistor will vary with the position of your finger. The phototransistor directly under your finger will receive more reflected IR light than the other two phototransistors.
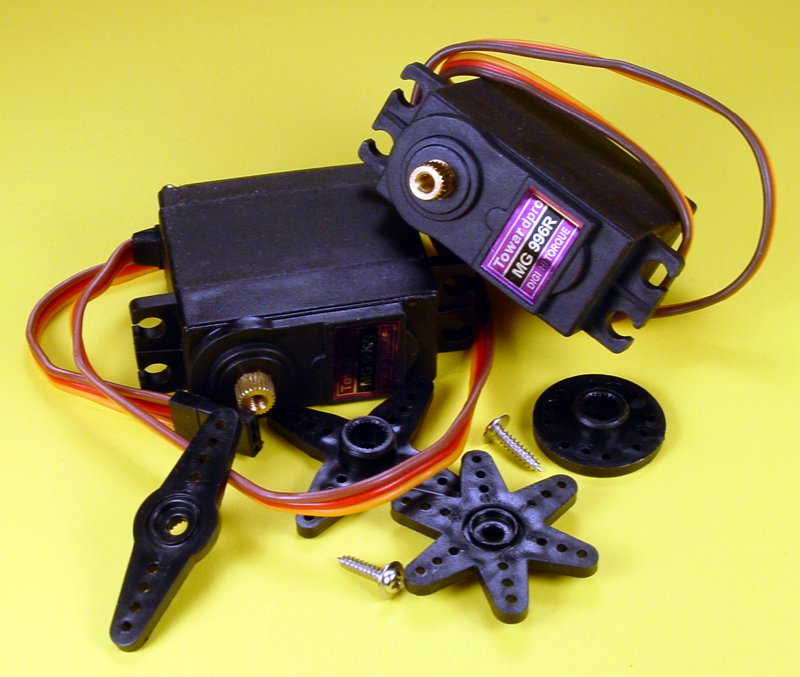
The code causes the servo to move to the right position when the voltage from the right phototransistor is the highest, to the center position when the voltage from the center phototransistor is the highest, and to the left position when the voltage from the left phototransistor is the highest. An arm attached to the servo will thus point in one of three directions and, when properly adjusted, will follow your finger as it moves back and forth above the perfboard assembly.
The OperationAs you may have already discerned from the schematic and the code, the operation of the project is rather simple. IR light is continuously radiated from all six LEDs, and some of that light is received by each of the three IR phototransistors. Because of the heat shrink tubing covering the sides of the phototransistors, most of the IR light must enter through the rounded end of each phototransistor by being reflected from some surface above the LEDs and phototransistors. That surface can be your hand or your face or something else such as a piece of paper, and the phototransistor that is directly under the reflective surface will receive the most reflected IR light.
If a relatively small object (such as your fingertip) is moved back and forth above the perfboard assembly, the amount of reflected light that falls on each phototransistor will vary with the position of your finger. The phototransistor directly under your finger will receive more reflected IR light than the other two phototransistors.
The code causes the servo to move to the right position when the voltage from the right phototransistor is the highest, to the center position when the voltage from the center phototransistor is the highest, and to the left position when the voltage from the left phototransistor is the highest. An arm attached to the servo will thus point in one of three directions and, when properly adjusted, will follow your finger as it moves back and forth above the perfboard assembly.

Author
Write something about yourself. No need to be fancy, just an overview.
 RSS Feed
